
Seven Steps to Ensure Effective & Long Lasting Concrete Repairs
Most minor concrete repair works can be carried out quickly and simply by hand. To ensure works are carried out safely, to a high standard and will deliver lasting results, we advise following the simple seven-step process set out below.
Note: At the outset of all projects, ensure you use only clean potable water, make sure tools are clean and well maintained, remove only concrete as instructed by supervising officer or qualified engineer, and consult product data sheets before starting. And never contaminate mixture with other chemicals, mix powders from different products, add more water than recommended or mix and apply product in direct sunlight.
Step 1: Substrate Preparation of Concrete Repair Area

Mark the defective concrete and then remove according to the size of the affected area. For small patch repairs, a hammer and chisel will probably be sufficient. For slightly larger areas, use a hammer drill and for even larger areas the use of a high pressure water jet might be necessary.
Remove concrete to a minimum of 155mm behind the main bars. Cut side to a minimum of 90° to avoid undercutting and maximum of 135° to reduce debonding around edges. Substrate should be sound with no loose material before you continue. Inform a supervisor immediately if there are any cracks in the substrate.
Step 2: Reinforcement Preparation 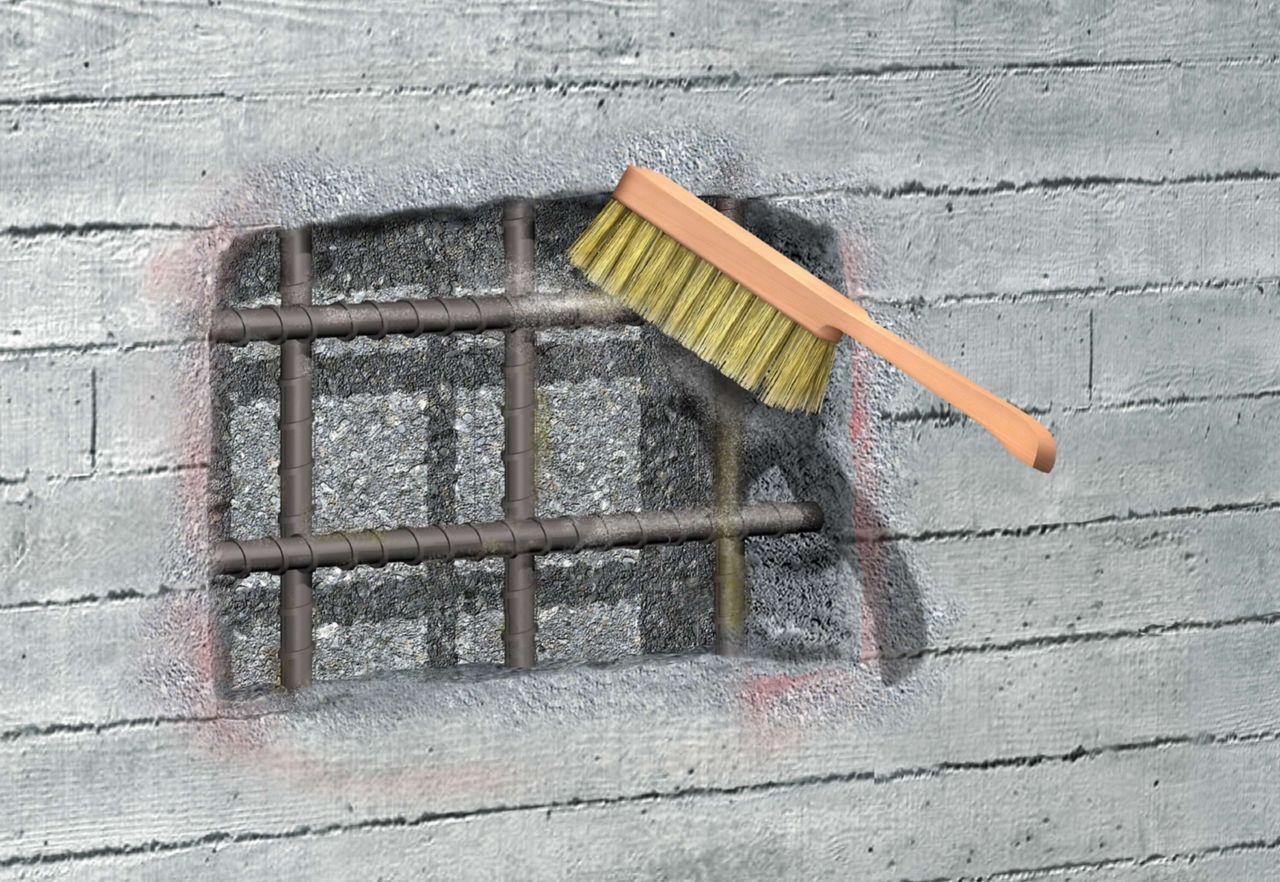
Remove all tie wires, mortar/concrete, rust/scale and any other loose material. There are three removal techniques:
- Steel wire brush or hand / power tools – this technique is applicable only in carbonated concrete and under environmental constraints where techniques 2 and 3 cannot be used.
- Abrasive blast cleaning – if chlorides are present reinforcement should be cleaned with water afterwards
- High pressure water jetting – 1,100 bar minimum
Step 3: Reinforcement Corrosion 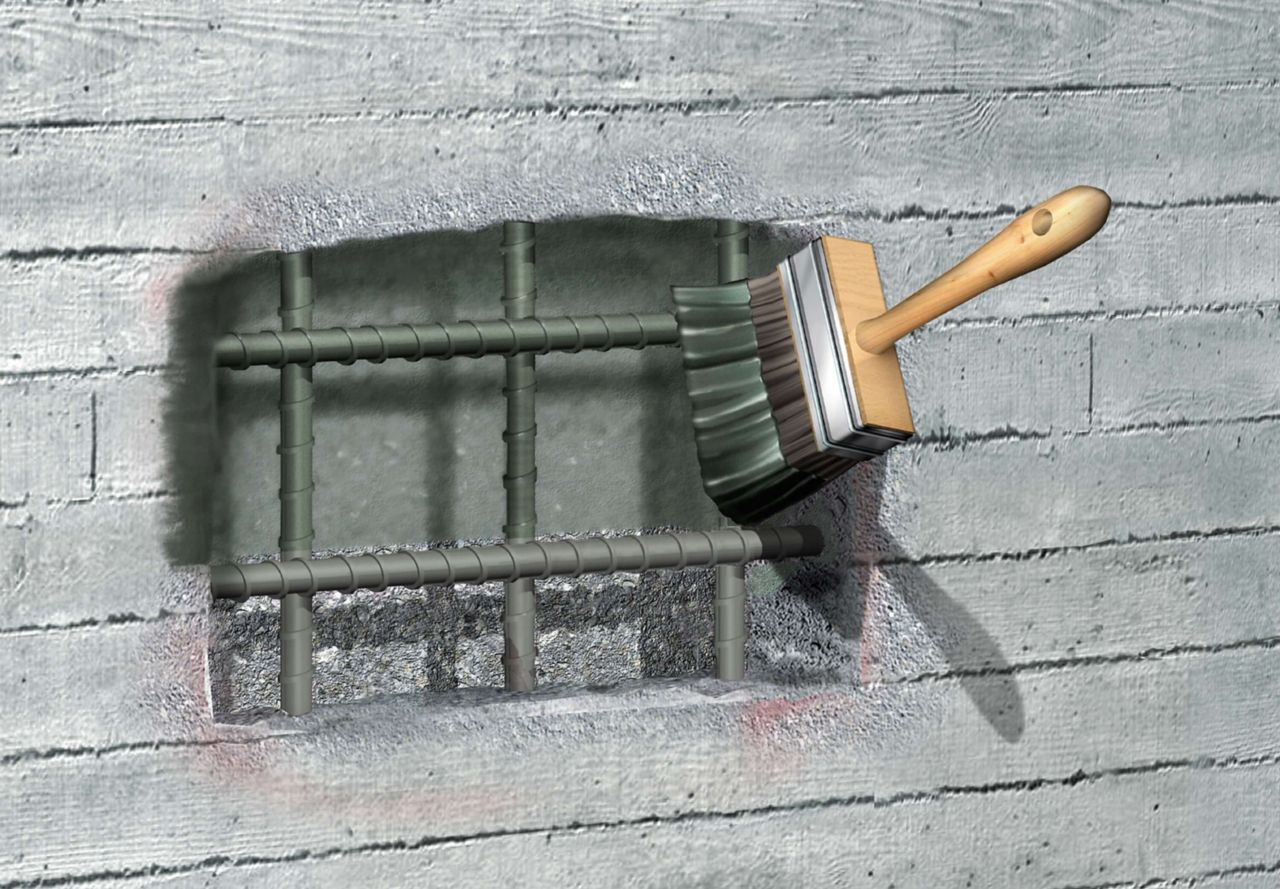 Protection
Apply two 1mm thick layers of suitable corrosion protection. Allow time for the first coat to harden before applying the second coat. Allow application to dry before applying repair mortar. Corrosion protection can be applied using a hopper spray for large applications or using brushes to smaller applications. In this instance, use two brushes simultaneously to ensure full application behind the bars.
Step 4: Bonding Primer (if specified)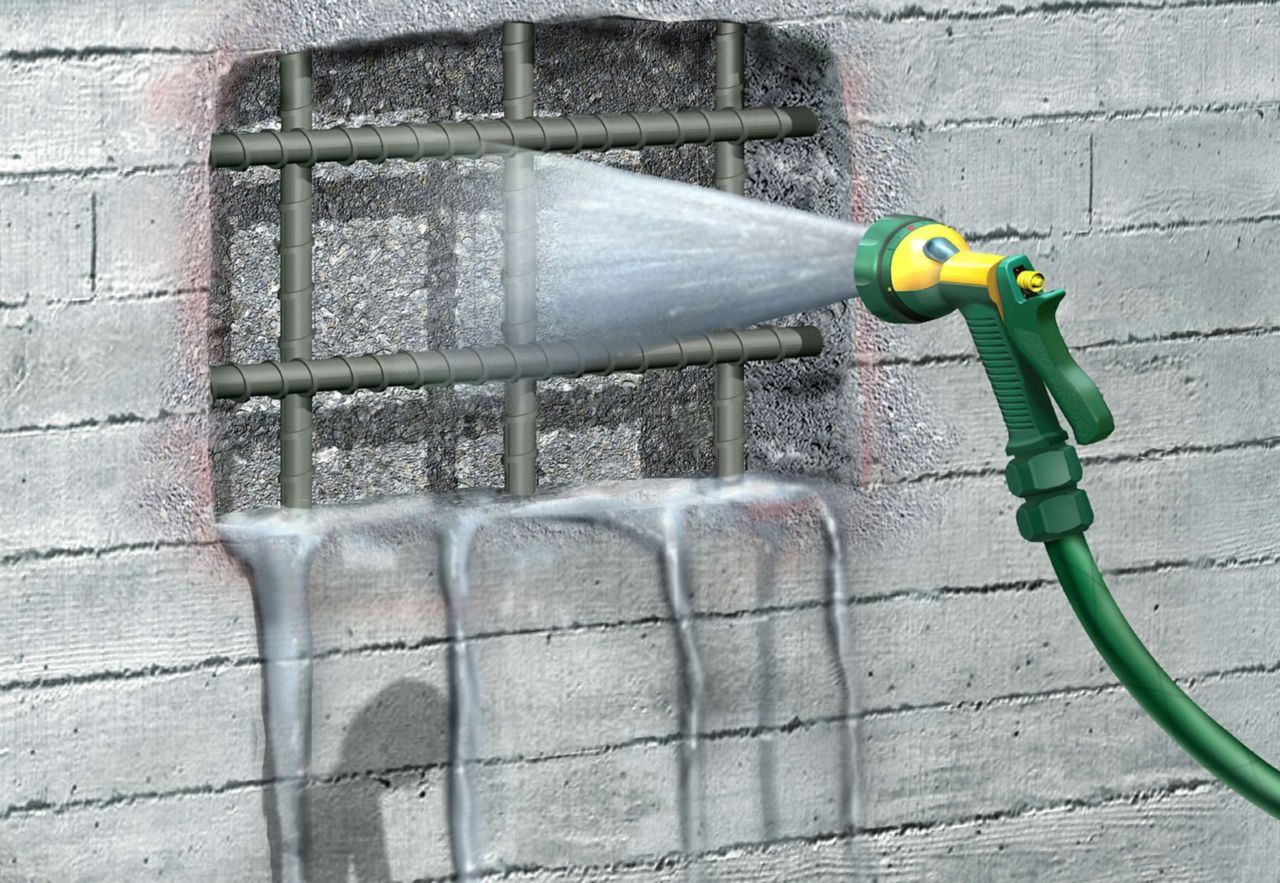
Wet the substrate before wiping away excess water, using a sponge for small areas of air pressure for larger areas. To apply the primer use either a brush or hopper gun. Be sure to point the gun at different angles on the surface to ensure even application behind the bars.
Step 5: Repair Application 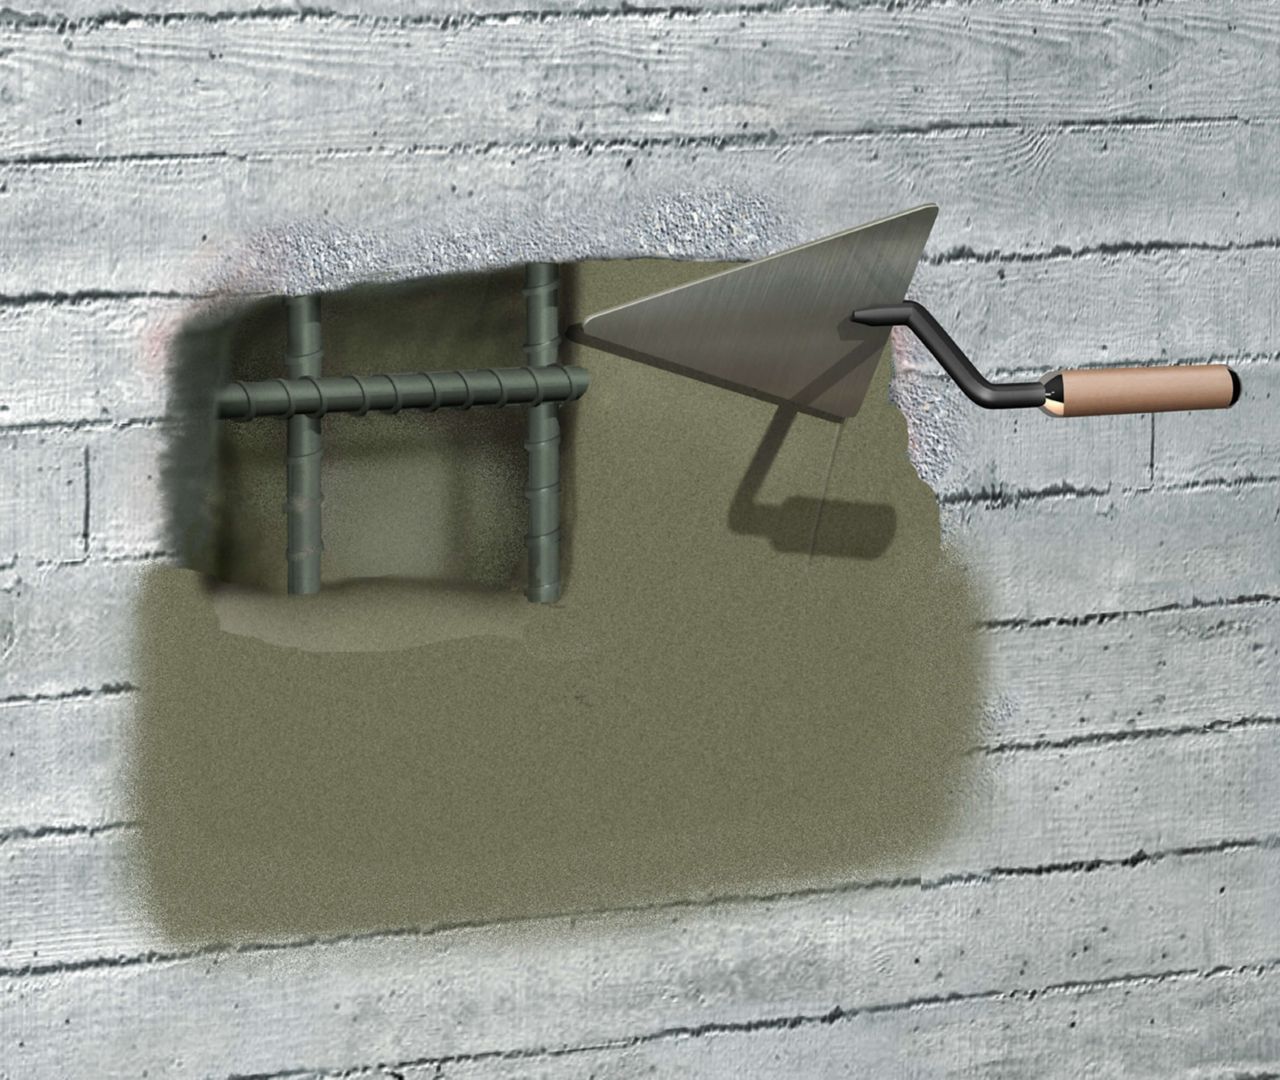
If bonding primer has not been applied, wet the substrate as directed in step four. When repairing by hand, press the repair mortar firmly into the repair area using a trowel and/or hand. Apply a second layer when the first layer is dry if the application depth exceeds the product’s maximum layer thickness. Profile the surface and finish with a trowel. Finish with a wooden or PVC trowel for best results. Do not spray additional water over the surface. When repairing by spray, point the nozzle 200mm to 500mm from the surface. Again, finish with a wooden or PVC trowel for best results. Make sure voids are filled behind the bars. If second layer is required, surface should not be too smooth.
Step 6: Smoothing Mortar 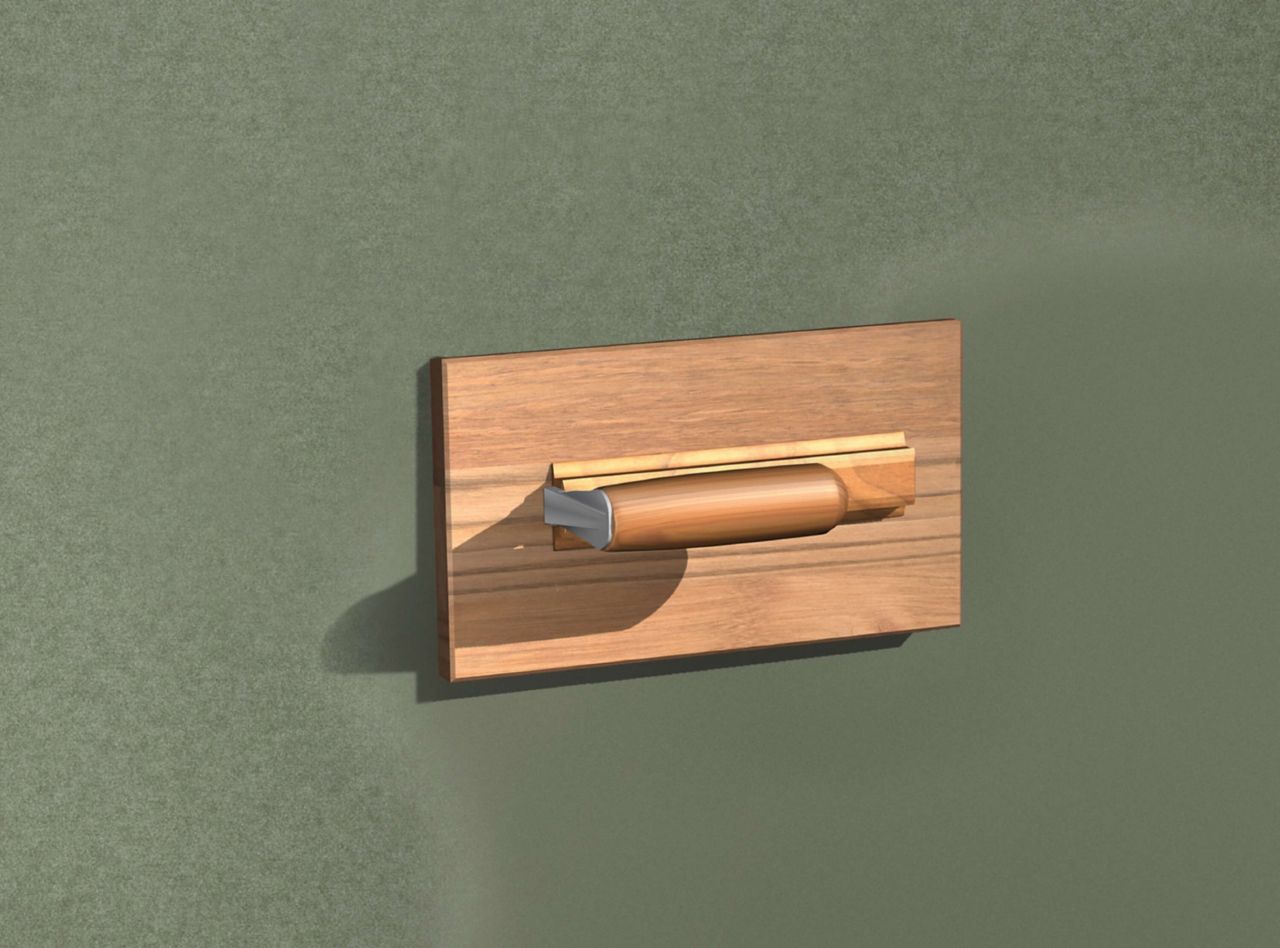
To prepare the surface, wet and clean with water (180 bar). Smooth the mortar using a tooted trowel, moving vertically. The trowel should sit approximately 45° to the surface. When the first layer is hard, apply a second layer. Smooth the surface using a wooden trowel after the product has set – anywhere between 25 minutes and 4 hours.
Step 7: After Application 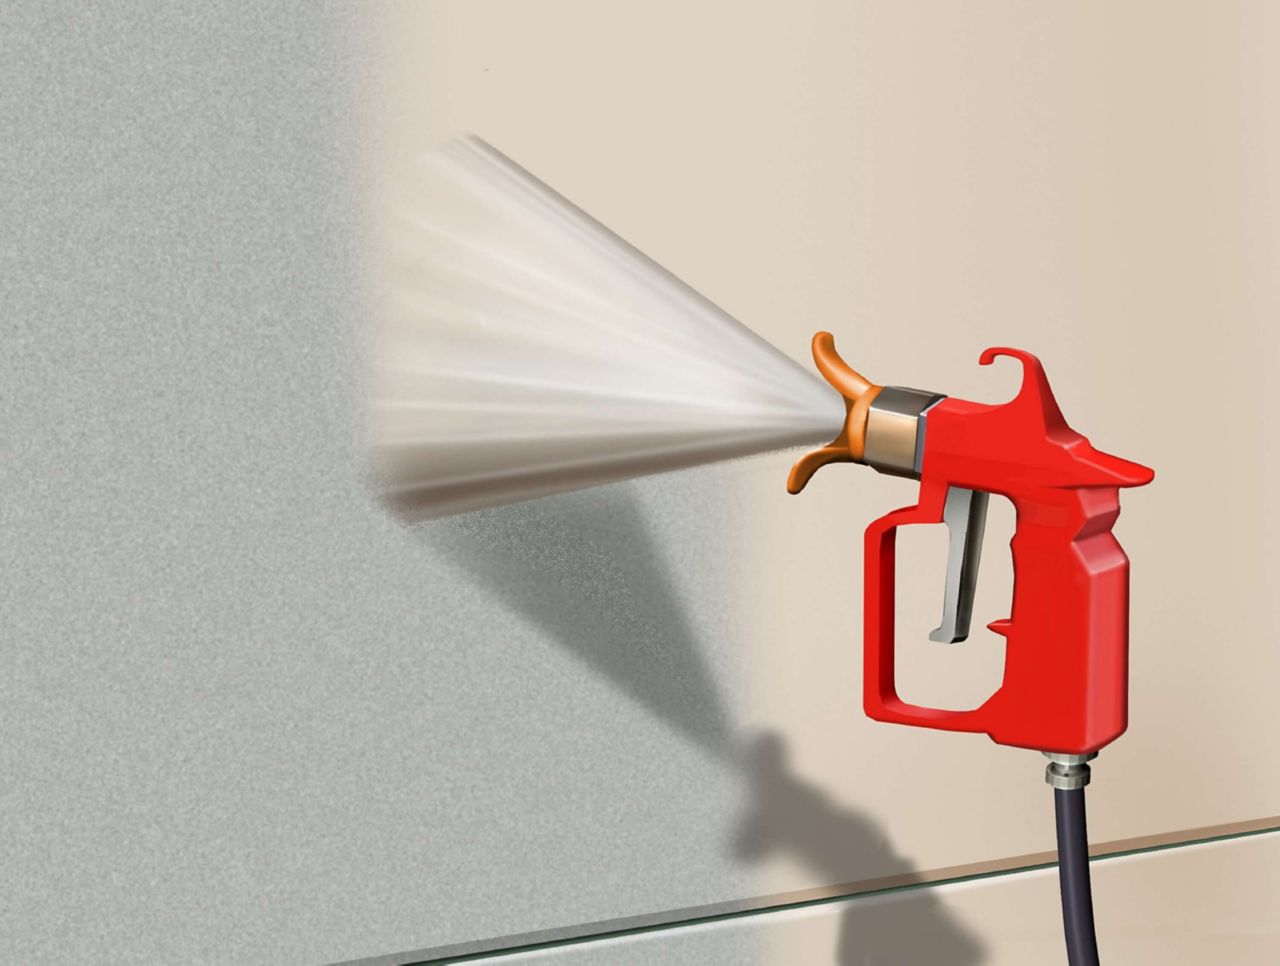
Curing will protect the repair from frost, wind, rain and sun. Apply as soon as possible after application to avoid the surface cracking. Curing can be carried out using plastic sheeting, fabric and water of other membranes. Alternatively, if no subsequent coating is to be applied, an approved curing agent could be used instead.